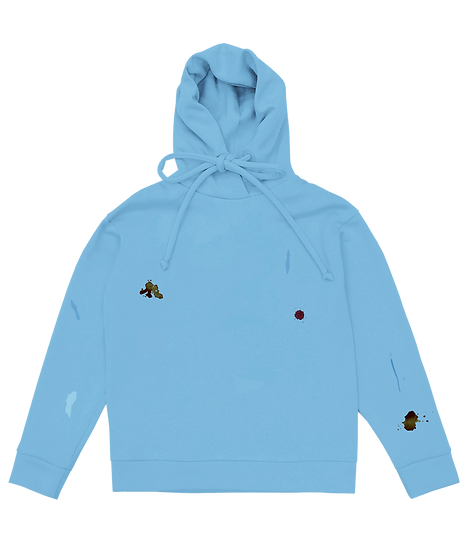
top of page
face2.png
"We are in close communication with our customers. Through time they gave us feedback and in such a way asked us to run RCR SAMOPRINT: they already wanted to get instructions and sticker packs to work with their clothes by themselves. I’ve noticed that sometimes people do SAMOPRINT better than me at the master classes. They create the design of prints and compose them more fairly"

The only one real way out of it could be the absurdization of the constant consumption to which the system of capitalism has fitted us. The sale of upcycling does not remove our desire to fill the wardrobe with new things, but only stimulates it. We have created a sticker pack RCR SAMOPRINT as an interactive game for the resuscitation of your wardrobe.


With this sticker pack you can become the creator of your new reality!

basic pack \ 25$

конверт1_1.jpg

advanced pack \ 35$

конверт1_2.jpg

flower pack \ 45$

стікерпак квіти.jpg

instruction

1

To begin with take out all the cut-out elements from the envelope and arrange them so that the side with a white square sticker is facing up

самопрітн1.jpg
самопрітн2.jpg

2

Arrange the stickers on the t-shirt and once you achieve your desired composition take a picture of it for further reference

3

Take off all the elements that are overlapping, you will later put them back on layer by layer referencing the photo that you took

самопрітн3.jpg
самопрітн4 copy_edited.jpg

4

Cover the first layer of stickers with the special cloth that came with your sticker pack and gently but firmly press the iron over the stickers for 10 seconds. Make sure to that the steam option on your iron is off and the temperature regime is 160°C (three dots on your iron). Don't pull the iron over the cloth because that might cause the stickers to move

5

Make sure all the elements are properly attached and remove the protective translucent cover from the all the stickers (if the elements didn’t adhere correctly cover them back up with the cloth and press with the iron for another few seconds)

самопрітн5.jpg
самопрітн7.jpg

6

After completing the first layer, take a look at your reference photo and arrange the second layer of stickers accordingly. Repeat all the steps, remembering to remove translucent protective layer from the stickers before moving in to the next layer (we recommend to use maximum of 3 layers of overlapping stickers)

7

After the whole composition is finished over it up once again with the protective close and iron everything all together one last time ding short pressing motions with the iron over entire composition

самопрітн4 copy_edited.jpg
самопрітн9.jpg

8

After you’re done with the printing, don’t fold the t-shirt right away and let it cool off the prevent any wrinkling on the stickers.Item can be washed in 30°C water and ironed only inside out

WARNINGS:
· kids under the age of 12 must do their printing sessions only under careful supervision of adults
· always make sure the the stickers are arranged with the right side facing up, otherwise they can stick and potentially damage the iron surface
· if a sticker was placed the wrong side up and got stuck to the iron, turn off the iron, unplug it from the electrical source and use the special iron cleaner to clean up your iron before you can continue printing


REMEMBER:
· always put the protective cloth over the stickers when using the iron
· always take off the translucent protective shell from the stickers that are already attached to the t-shirt before moving on to printing the next layer of stickers on top· once the stickers are attached to the t-shirt with the iron they can not be rearranged or removed


MOST IMPORTANT:
· keep in mind that it is always better to use an old t-shirt and give it a new life
· there are no bad compositions!· and most importantly KEEP IT FUN :)
bottom of page